Toolchain
This page will walk you through the installation of the toolchain and how to test your toolchain setup by compiling a MiraOS example application.
Instant Mira
Instant Mira is a virtual Linux machine image for VMware with the toolchain pre-installed.
Download
Contact your LumenRadio sales representative to obtain the download link.
Installation
VMware Workstation Player (Windows & Linux)
- In Workstation Player, select
Player>File>Open. - Browse to the Instant Mira
.ovafile and click Open. - Type a name for the virtual machine (Instant Mira), type or browse to the directory for the virtual machine files, and click
Import.
VMware Fusion (macOS)
- In Fusion, select
File>Import. - Click
Choose File.. - Browse to the Instant Mira
.ovafile and click Open. - Type a name for the virtual machine (Instant Mira), type or browse to the directory for the virtual machine files, and click
Continue.
Getting started
Start the virtual machine, and Instant Mira will show you a Linux desktop environment.
The username/password for Instant Mira is: mira/mira
Click the terminal icon in the favourites bar.
![]()
Figure 1: Terminal shortcut
The Linux terminal prompt will show up:
mira@instantmira:~$
Getting MiraOS
To check for the latest available version of MiraOS, run the mira-check command:
mira@instantmira:~$ mira-check
2.1.0
To obtain and install the SDK, run the mira-get command:
mira@instantmira:~$ mira-get
You will have to provide your Mira Downloads username and password.
To update MiraOS later on, simply run the mira-get command again.
The MiraOS environment is located in the miraos folder, it's split into three parts:
libmira- contains the actual MiraOS library, include files, API documentation, examples, etcworkspace- this is where you should place your own applications. By default it contains an empty application to start from.
The libmira directory will be overwritten when updating MiraOS environment.
To enter an example directory, for instance the blink example, type the following command:
mira@instantmira:~$ cd miraos/libmira/examples/blink
Changing the password
To change the password for the mira user, run the following command:
mira@instantmira:~$ passwd
The system will now ask you to provide the old password, and the new password that you wish to change to.
Editing files
The text editor Atom is included in Instant Mira and can be launched using the shortcut in the favourites bar:
![]()
Figure 2: Atom shortcut
The Atom text editor is great for simple editing and small projects, for your long term development you can use any text edit of your liking.
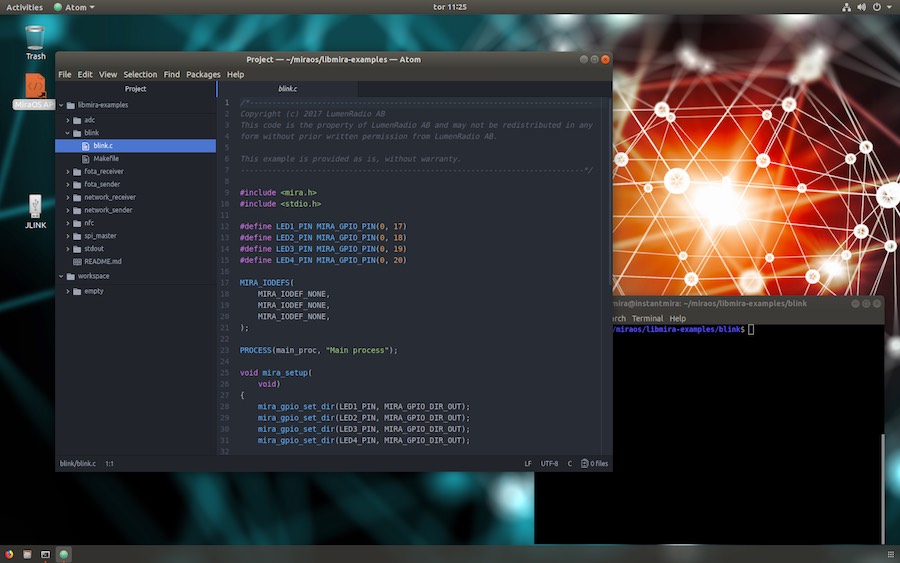
Figure 3: Atom and terminal in Instant Mira
Compiling and flashing
Building
For building (compile and link) an application Instant Mira uses make, each example contains the appropriate Makefile.
To build an application, simple runt the command make in the application directory, and soemthing similar to the below will show:
mira@instantmira:~/miraos/libmira-examples/blink$ make
  CC        blink.c
  CC        /home/mira/miraos/libmira-examples/blink/../../libmira/platform/nrf52832-mesh/isr_vector.c
  LD        blink-nrf52832-mesh.elf
  OBJCOPY   blink-nrf52832-mesh.hex
mira@instantmira:~/miraos/libmira-examples/blink$
Now the application has been built and can be flashed/uploaded to the board.
If the output instead looks like this:
The MiraOS environment is located in the miraos folder, it's split into three parts:
libmira- contains the actual MiraOS library, include files, API documentation, examples, etcworkspace- this is where you should place your own applications. By default it contains an empty application to start from.
To enter an example directory, for intance the blink example, type the following command:
mira@instantmira:~/miraos/libmira/examples/blink$ make
make: Nothing to be done for 'all'.
mira@instantmira:~/miraos/libmira/examples/blink$
Then the application was already built previously, and no changes has been made to the source file(s).
Flashing
To flash the application, make sure the board(s) are connected to Instant Mira and run the following command:
mira@instantmira:~/miraos/libmira/examples/blink$ make flashall
The application will be uploaded to all connected boards. If you wish to upload to only one of the connected boards, you need to specify the board ID. First, to find out the IDs we can use the nrfjprog tool to list the IDs of the connected boards:
mira@instantmira:~/miraos/libmira/examples/blink$ nrfjprog --ids
987654321
123456789
000112233
To flash the board with ID 123456789 run this command:
mira@instantmira:~/miraos/libmira/examples/blink$ make flash.123456789
Note: The targets flash and flashall depends on the application, so if source files have changed it will automatically rebuild the application when running make flashall or make flash.XXXXXXXXX without the need to first rebuild the application manually.
Cleaning your build
To clean the build to get back to a clean state, run makewith the cleantarget:
mira@instantmira:~/miraos/libmira/examples/blink$ make clean
rm -rf obj_nrf52832-mesh
rm -f blink-nrf52832-mesh.*
mira@instantmira:~/miraos/libmira/examples/blink$