Gateway / Border router
A gateway or border router is a device that act as the interface between the Mira network and the rest of the world.
Gateway vs. Border router
The device might be called either gateway or border router, the term are often used interchangeably although they technically are slightly different.
In regards to MiraOS the terms may (except for in this section) be used interchangeably since the difference are mainly in regards to configuration and applications.
Gateway
A gateway typically run a piece of software locally on the gateway that receives packets from the Mira network and forward them to some cloud platform via MQTT, a REST API or any other method.
In this scenario one typically does not permit raw IPv6 packets to be routed between the Mira network and the outside world. One could say that a gateway typically works on the application layer.
Border router
A border router acts on the network layer and will allow for IPv6 packets to be routed between different networks. It may for instance be set up to route packets between the Mira network and an Ethernet connection.
With a border router it is possible to use standard Internet end-to-end security mechanisms like DTLS, etc.
Gateway support in MiraOS
Gateway support in MiraOS consists of two parts:
- A radio running a special software - this is called "Radio on a stick" (aka. RoaS).
- A piece of software that runs on a POSIX host to create the networking interfaces needed and that interfaces with the RoaS.
Gateway software is available for the following platforms (can be downloaded from the download portal):
- Linux
- x86_64
- ARMv7-A (Cortex A7, etc)
- ARMv8-A (Cortex A53, etc)
- Mac OS
- x86_64
For platform questions and platform requests, please contact LumenRadio.
When running the host software a tun interface is created with a /64 IPv6 prefix. Once this is created packets can be send to and from the Mira network assuming you know the nodes' IPv6 addresses.
If, in a node in the network, getting the root address and sending to (as in the network sender example) these packets will be sent to the corresponding UDP port on the host in the gateway. This allows for writing your gateway code in any programming language that can be used on the host system.
Running the gateway
Connecting the RoaS
First the RoaS needs to be programmed. On a nRF52840 RoaS this will be done by running the following command when in the corresponding directory:
nrfjprog --family nrf52 --sectorerase \
    --program mira_roas-nrf52840.hex --reset --verify
Running the host software
Start the gateway software as follows (parameters may differ slightly depending on the system):
sudo ./mira_gateway --rate=0 --mode=root --dev=/dev/ttyUSB0 --tundev=tun0 \
    --key=11121314212223243132333441424344 --panid=13243546 --forward-udp
| Parameter | Description |
|---|---|
rate |
The Mira performance rate to use at the gateway (this would typically be 0 for highest performance). |
mode |
The mode of operation of the gateway (should be root in most cases). |
dev |
The serial device where the RoaS is connected. |
tundev |
The tun device that shall be created. |
key |
The link-layer encryption key to use (in hexadecimal). |
panid |
The PAN ID to use (in hexadecimal). |
forward-udp |
Forward incoming UDP packets to host computer network stack. |
For starting this automatically at boot time it is recommended to start this from a script.
1 2 3 4 5 6 7 8 9 10 11 12 13 14 15 16 17 | #!/usr/bin/env bash if [ "$EUID" -ne 0 ] then echo "Please run as root" exit fi this_dir="$(cd $(dirname "${BASH_SOURCE[0]}") && pwd)" $this_dir/mira_gateway \ --rate=0 \ --mode=root \ --dev=/dev/ttyUSB0 \ --tundev=tun0 \ --key=11121314212223243132333441424344 \ --panid=13243546 \ --forward-udp |
Testing the gateway
To verify functionality of the gateway, first flash a node to be running the
network_sender example.
Start the gateway with the same network credentials as the network_sender node.
Also make sure to use the --forward-udp option.
Run the command nc -l -6 -u 456 to start listen for UDP packets on port 456.
(Note: you might need to have root privileges to do this.)
Once the network has formed, you will start to receive packets from the network_sender
node.
Wait for some additional time to let downward routes be established. Then run the following command:
ping6 -i 5 -c 50 fd01::1234
Replace fd01::1234 with the IPv6 address of the network_sender device. And make sure
that the wait time (the -i option) is long enough in relation to the configured
performance rates of the devices.
If your host system could successfully ping the network_sender, then your gateway interfaces is functional.
If you're planning on doing IPv6 routing in/out of the network, continue to the next section. Otherwise you now ready to write your gateway application.
Setting up routing
If you want routing to be performed. You need to enable IPv6 forwarding in your host operating system. Please refer to documentation on this topic for your specific operating system.
You will most likely also need to set your router up to advertise that it is a router for the network prefix of the Mira network. This can be done in many different ways, radvd for Linux is one option. It will send ICMPv6 Router Advertisements on your Ethernet or WiFi network.
Reference gateway
LumenRadio has a reference gateway for development purposes that consists of a Raspberry Pi with a built-in Mira radio module as a RoaS. It can be used for reference purposes when building your own gateway, or while developing.
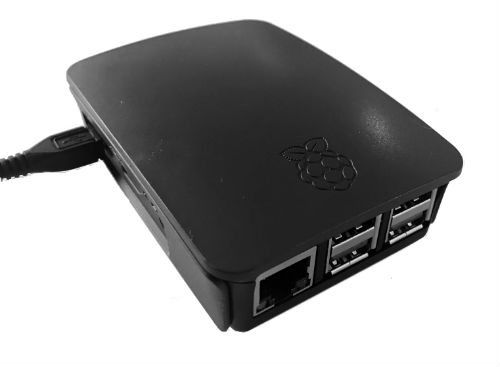
Figure 1: A Mira gateway